
Although the game became more “user-friendly” and intuitive from its launch, in 2009, there could be still some useful tips to share to a newcomer. A video tutorial about the basic commands to move your character, can be watched here.
The Sisters of Mercy is a proudly Asmodian legion, thus, the following guide will mention only the Asmodian locations/NPC! (but there is obviously a corresponding Elyos version.)
Classes
There are currently 11 classes in Aion: 5 melee (Templar, Gladiator, Assassin, Chanter, Aethertech) and 6 ranged (Ranger, Spiritmaster, Sorcerer, Cleric, Gunslinger, Songweaver). For a closer overview, please see the corresponding page under “The Game”.

Chat
Pressing “enter” and clicking on the ellipsis “…” on the bottom left, will allow you to choose in which channel you want to chat (bear in mind that you won’t be able to whisper before reaching lv20, so use the group chat if you need it). If you want to post a location in chat, open the map with “M” and press Ctrl+right click on the spot you want to link. It’s also possible to unlock the chat window and create additional tabs (for Group or PvP) and drag single tabs in any place of the screen. Right-click on the tab’s name to edit its settings (like the font size and the colour). Unfortunately, the World chat cannot be removed: you can move it to a corner of your screen, since it’s barely used (only by the faction’s Governor). I also suggest you to create a “radar” for PvP, as shown in the following image: create a new tab and untick all the voices but the 5 Enemy’s voices. In this way, when an Elyos uses a skill within 25m from you, you will read the notification, and could be aware of his/her presence, even if he/she is in hide mode.

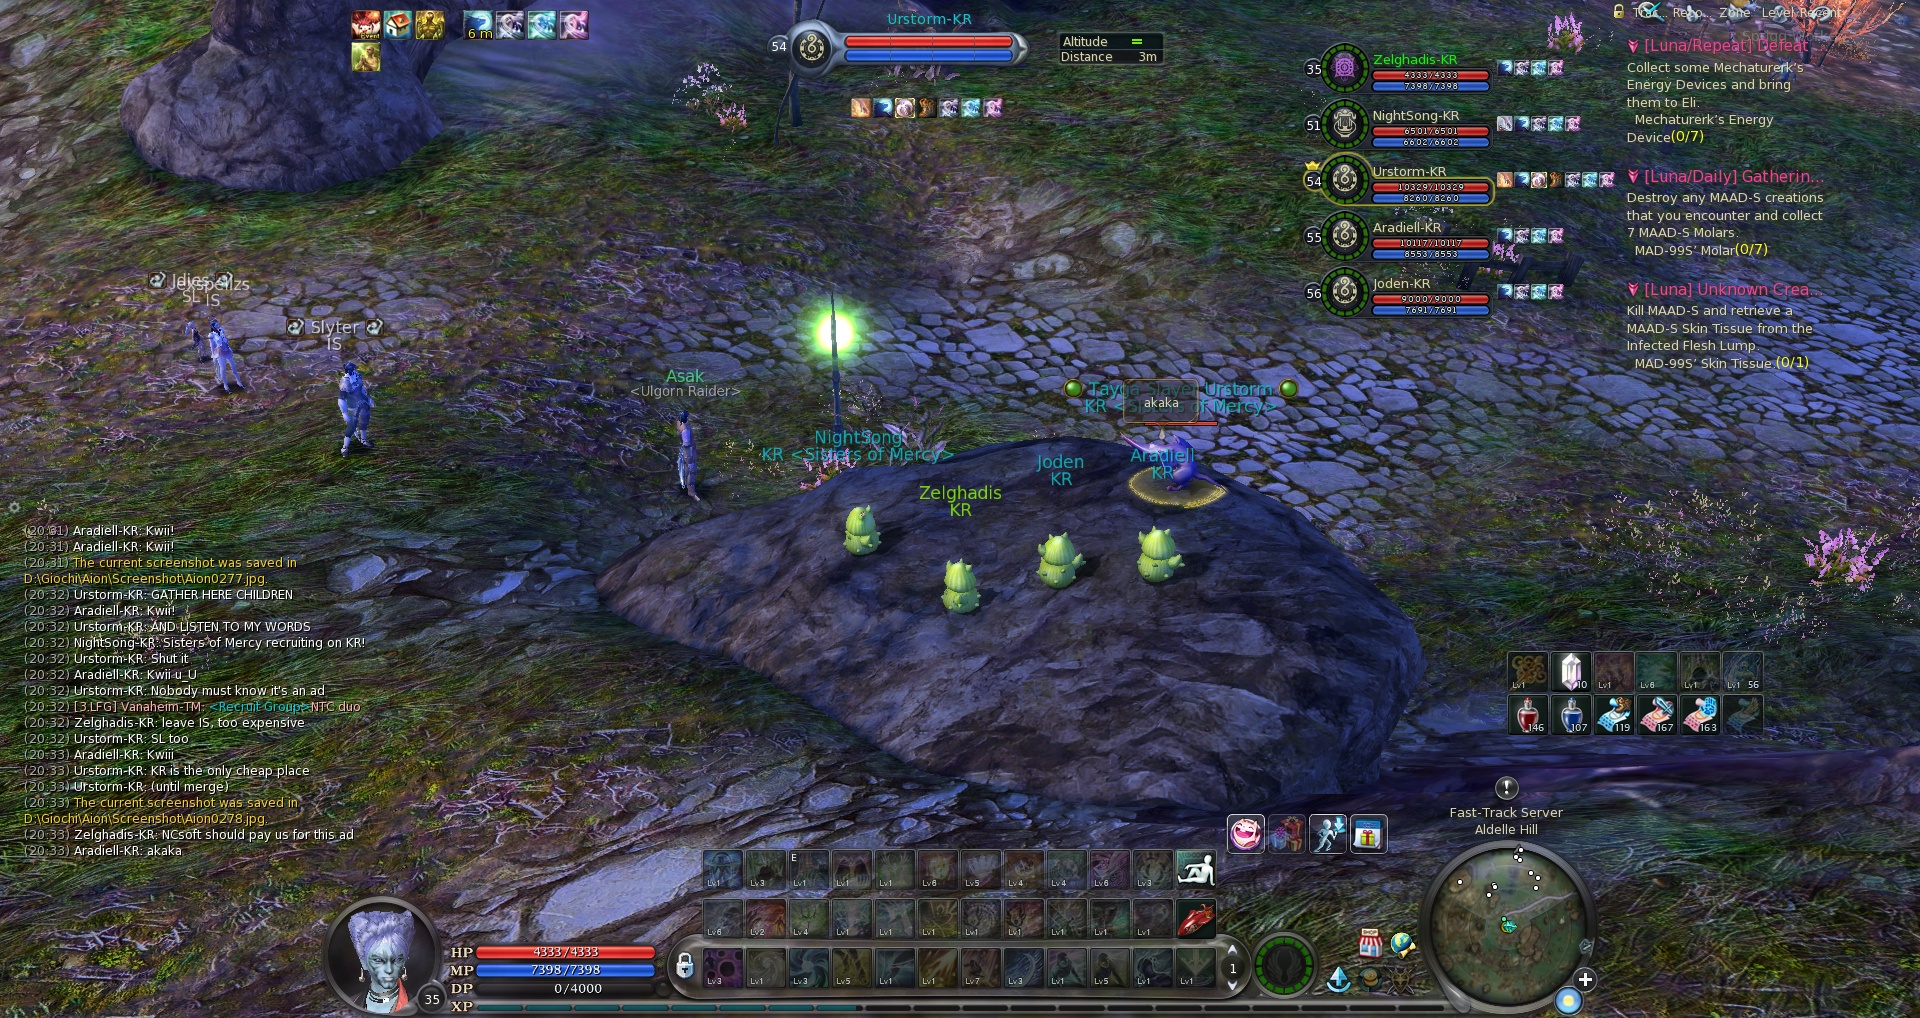
Servers and Channels
There are currently 5 servers in Aion (Siel, Israphel, Tiamat, Kahrun and Beritra), plus a Fast Track Server. A new character can be only created in one of the 5 servers listed above, and will be forced to stay on this server after level 60. Legions can be composed only by players of the same server. However, before reaching lv61, a player can move to the Fast Track Server (FTS): this is an instanced server, more populated (since all the characters <lv61 from any server can play there) and offers a double experience rate and protection from PvP (mocking battles are allowed though). Bear in mind that the map for the Abyss and for our capital city, Pandaemonium, are only on the Standard Server, thus, you will be moved automatically to the Standard Server when you teleport to these maps. To change between Standard and FTS, you can click on the button with the light blue little man. On FTS it’s also possible to change Channel (click on the light blue Arrow Up icon): a channel is a “copy” of the same map (instanced) and it’s useful in case you need to kill some mob but someone already killed it, or if you want to gather an item but someone else already gathered it. If the map is too crowded, instead of waiting for the respawning time, try to change channel!

Questing
There are 4 types of quests: gold/yellow, dark blue, light blue and pink (press “J” to open the quest list). The yellow quests (or Campaigns) are related to the lore and usually give a lot of experience and useful items; they can also unlock new contents/instances. The dark blue quests are the “recommended” quests: they give a good amount of experience and some useful item, while the light blue quests are basically side quests, useful if you prefer to level up by questing rather than doing instances. As you level on the FTS, remember to pass from time to time (every 5 levels) from a main city (or Pandaemonium): here you will find Erdat and/or Edandos. They will give you free useful items (like weapons, piece of gear or wings). Moreover, Edandos will bless you on request, granting a 10% HP boost. In addition to these, some mobs can also drop a quest item that let you start a secret quest (some of them can be seen here).

Menu and Options
The Menu can be opened pressing “O” or “Esc”; from here, it’s possible to access the options and the following settings:
- Game Option: Names / Status Bar / Interface / Quickbars (to add additional Extra or Floating Bars) / Controls and Camera (suggest to tick “Disable Click-to-Move”, to avoid to move your character during frantic actions, and to consider selecting “Disable auto-approach target”: this will be important during some particular instance, like DC or DR and sieges, to avoid falling into pits when your target is out of your range) / Social (you might want to untick the “Profanity Filter”) / Combat Information / Pets / Additional Functions (if you want to see on the transparent map all the available quests for your level, untick “Hide basic quests”).
- Graphic Options: Screen / Graphics Engine / Misc.
- Sound Options: Volume (tick “BGM Volume” if you want to hear the beautiful background musics) / Options.
- Key Mapping: Controls (you could assign a key in your mouse for “Automatic Forward”) / Combat (you can assign a favourite key to “Attack/Chat/Loot”, “Change Weapon”, “Select Nearest Ally” and “Select Next Enemy PC”, useful in PvP to select only the enemy players and not the mobs) / Functions / Group/Alliance (you might want to assign some key to “Select yourself” and “Select Group Member”) / Brands (the most useful brands to assign are “Show 1-2-3”, “Show Zz” and “Show Forbidden”) / Windows (currently there is no default key for “Pet List” and “Instance Info”: a Shift+I might work fine) / Quickbars.
- System Settings: System (you can use the “NC Ping” to reduce the latency of your connection. Similar software, like Leatrix Latency is also fine. Just try to use only one software of this kind).

Skills
Since Aion 4.7, skills are automatically acquired upon leveling up. The icon of a book will appear on the right of the skill bar, to let you know that a new skill is available or that some skill that you already knew, has been powered up (for example increasing the damage dealt): this can be placed in your skill bar, opening your window “Skill” with “K” and dragging the new icon into your skill bar. If you already had that skill, the new version of it, will automatically replace the old one. To unlock your skill bar, click on the locker on the left bottom of your skill bar: you can then move your skills and bars as you wish (there’s no need to move your chained skills on your skill bars anymore). You can also have a preview of the skills you will learn in the next levels, by clicking on “View Unacquired”, such as the list of your chained skills under the tab “Chains”, where you can set the default chained skill. Pressing “Shift+K” will open the tab “Functions”: here, you can see (and eventually drag on your skill bars) also your Actions (like “Rest” or “Return”), Sign (the available brands to mark players or mobs), Gather/Craft (including the professions you learnt) and Emotes (to greet, thank, taunt or cheer other players).

Groups and Legions
In order to complete instances (or to receive some help for your quests) you may need a group (maximum 6 players), an alliance (up to 4 groups) or a league (up to 8 alliances). To open the Find Group window, press Shift+V: from here, you can both apply to other groups in progress, or create a new one (“Post Offer”). The tab “Recruit Group Members” displays the groups currently looking for players, the tab “Apply for Group” shows the players who would like to be invited in a group, while the tab “Instance Groups” allows to form groups with players belonging to different servers (also when you are on the standard server, at the level cap); however, to create such a group, you must go in front of the instance’s entrance and select the last option (or when you are already inside). You can also post a new recruitment ad, typing “/RecruitGroupMembers” in chat.

Common NPC
There are obviously several kind of NPC throughout Atreia. However, some of them are particular important and worth to mention:
- General Good Merchant: they are located in every main village of a map. They sell important items like Extraction Tools (useful to break a piece of gear or a weapon and gain a random Enchanting Stone; this is particularly suggested for class-specific items and other items that are valuated few kinah at the NPC vendor), Kisks, Potions and Returning Scroll (they allow you to teleport to the selected map from any point you are, without being forced to talk to the Teleporter NPC. If you want to move to a different location on the same map, you can also open the “M” map and click on the wing above the village you want to visit).
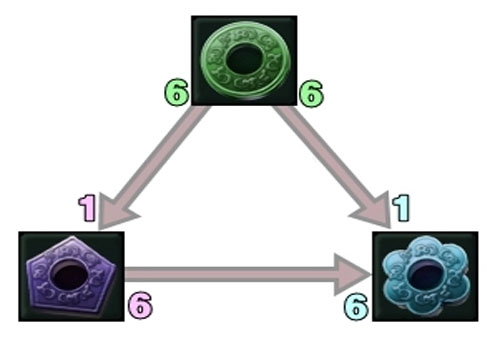
- Appearance Modifier: this NPC is located in Market Street, in Pandaemonium, and allows you to change the appearance of your gear or weapon. You can put the gear/weapon with the best statistic on the first slot and the gear/weapon you want to take the appearance from, into the second slot: the second item will be destroyed and its skin will be transferred to the main item. Gears can be also dyed, both using cheap dyes and rare petals (here an overview). To preview how a gear or a weapon looks like on your character, press Ctrl+left click.
- Skin Vendor: there are several skins that can be used to modify the appearance of your character. Some of these can be bought at the broker, some other dropped from bosses, some other sold by nomad shugos (see the time table for Pernon) and some other even bought from common NPC in Pandaemonium. In the capital city in particular, there is a vendor in Vanahal District, two in Prosperity Road (one for gears, the other one for headgears) and one in Marchutan Priory (for a more comprehensive list, see the related section under “Database”).

Rifts
A rift is a portal that sends you to the opposing faction’s map. They appear only on the standard server (the FTS protects players from open world PvP) at a certain hour (look at the Schedule under the section “Link”), usually for 1 hour every 4 hours. To check if a rift is open, move your character to the standard server and open the map (“M” for the standard map, or “N” for the transparent map): if they are up, some blue circles will be displayed on the map (if they are incoming rifts, for the other faction, they will not appear). To infiltrate into the enemy’s land (each rift teleports you to a random location, but always on the same opposing map: Morheim -> Eltnen, Beluslan -> Heiron, Enshar -> Cygnea) just walk until you are in front of a rift and click on it. Remember to bring a kisk with you and use it to temporarily bind you once you step on the new land, otherwise, in case you die, you will be teleported again to the obelisk you soul-bounded in Asmodae.

Macros
It is possible to assign a sequence of commands to a single button, using a macro. It could be used to change the whole gear or the accessories with a single icon, or to use chained skills (althought in this case the macro doesn’t work very well). Unfortunately they have a quite low limit of characters you can use, so to switch both gear and accessories (and sometimes also to only change the gear, depending on the length of the items’ name) you need 2 macros. To create a macro, press “U”, choose an icon, a name and a description. Then, simply drag your gear or skills into the command area. If you have a double item (like 2 daggers, 2 pistols or 2 earrings) you must add “left” and “right” after “/use”, otherwise you’ll replace the same item. Beware that the animation to switch the weapon/accessory takes a while, so if you write “/useleft ring” followed by “/useright ring”, the latter command will be skipped. To avoid this, insert a delay, like “/delay 0.5” between “/useleft” and “/useright”, or insert some other item that doesn’t require a specification left/right in between. You can also use a macro for skills, for example to shout in the group chat “BODYGUARD!!!” just before using the skill “Bodyguard”, to make aware your party that you used a shield/buff, etc. This could be useful for Templars and Chanters for example.

Mounts
A mount allows to travel faster than just walking on foot. There are different kind of mounts: some of them can fly or have a temporary speed boost, that increases the normal speed consuming your flight time. A mount can be expensive and hard to acquire: currently the easiest way to have a permanent mount (the slowest one) is to buy it in Pernon for around 12m kinah. There is also another version of this mount (Surfrider) that has a speed boost and it’s able to fly (it costs 48m). Other mounts can be acquired as loot in some instances (like Rentus Base), from named boss (like the Season Agrints in Pernon) or farmed with coins (like the Protectorate Coins in Tiamat Stronghold or the Legion Coins if your legion is level 8). Finally, they can also be crafted with a high level of Handicraft or bought at the broker (usually the temporary ones).

Pets
Pets are companions that follow you once summoned. There are different kind of pets:
- Pack: they offer additional slots for your inventory (beware that even different pets but with the same number of storage slots share the same inventory).
- Loot: these pets can automatically loot dead mobs for you (however, they won’t loot your quest items, and if you are in group, they will loot only if you are the leader and the distribution policy is set to “Leader”). To automatically loot a corpse, if you don’t have a pet, press Shift+left click.
- Buff: these pets can automatically use a scroll or a food/drink for you when the effect expires.
- Alert: they can spot an enemy player and automatically target him/her for you, when in range.
- Companion: these pets are simply (vanity) companion that will make your journey less boring.
Regardless of the type, all the pets can give you a gift when they are happy enough (their “happiness” constantly grows just for being close to you, when summoned, and can be increased further when you play with them). The gift can be a piece of furniture or a coin/medal, the grade depending on your level. You can buy an egg in several places (Enshar, Gelkmaros, Marchutan Priory, Pandaemonium) using kinah or specific tokens. Then, you can hatch it from the Pet Minder in Pandaemonium.

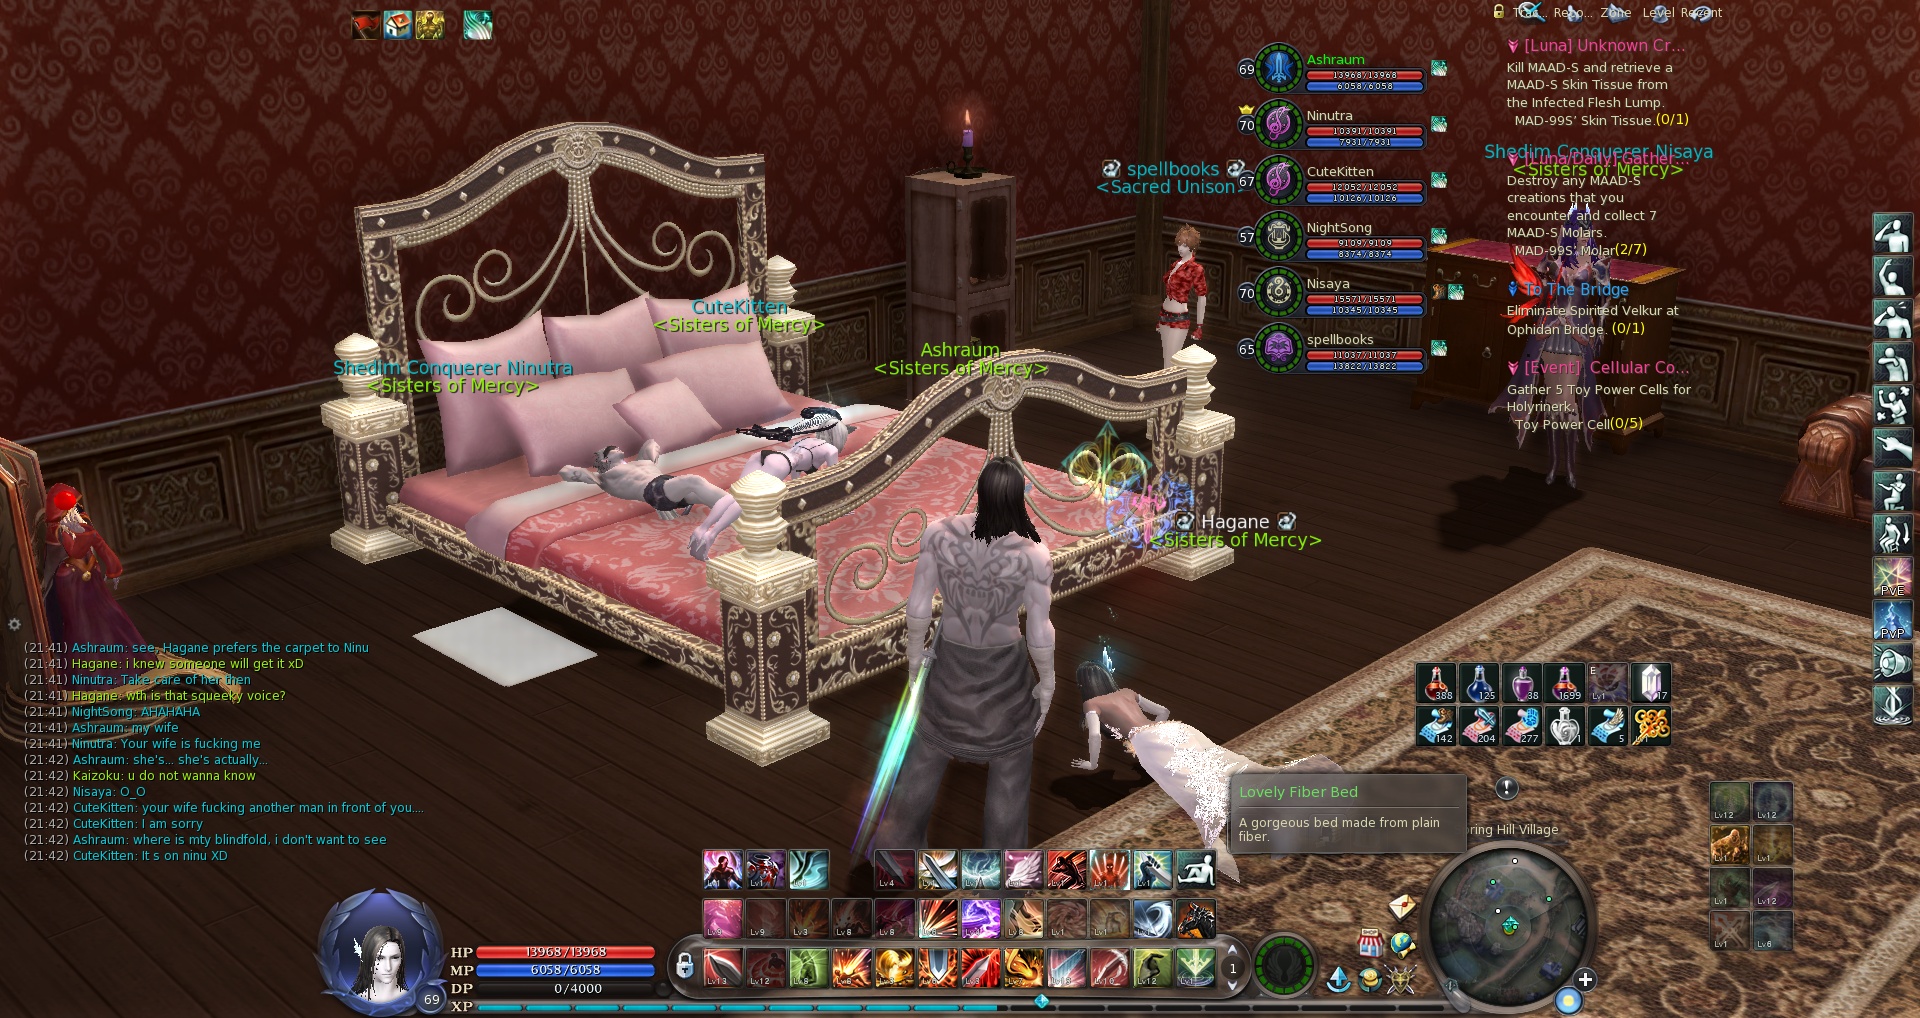
Housing
When your character reaches lv21, you can have a free Studio, starting the quest “Give My Regards to Pernon”, in Pandaemonium, close to the teleport. There are different kind of houses: Studio, House, Mansion, Estate, Palace; all of them are basically a single room, only the size changes (moreover, they also have a garden, all but the Studio). They can be customized, both inside and outside (apart from the Studio, only inside) and provide different buffs. The bigger is the house, the higher is the amount of furniture you can place inside, such as the weekly fee you must pay (except for the Studio, which is completely free). If you don’t pay for 4 weeks in a row, you’ll lose your house (you’ll be refunded for the 90% of the kinah you paid to buy it): it will be put at the auction, where other players could buy it. The auction ends on Sunday at 12pm and the bids can be submitted at each house’s info board, or directly to the Real Estate Auctioneer NPC in Pernon. If a bid is placed in the last 5 minutes, the auction will be extended up to a maximum of 30 minutes. When you place a bid, the kinah will be charged from your inventory, and returned back via mail, in case you lose the auction. Here a brief descriptions of the different houses:
- Studio: 20 items inside, 0 outside. No Maintenance fee. Energy of Repose recovers 5% faster when you log out from your Studio.
- House: 30 items inside, 30 outside. Maintenance fee: 400k kinah. Energy of Repose recovers 10% faster when you log out from your House.
- Mansion: 40 items inside, 40 outside. Maintenance fee: 2m kinah. Energy of Repose recovers 10% faster when you log out from your Mansion. No soul sickness.
- Estate: 60 items inside, 60 outside. Maintenance fee: 4m kinah. Energy of Repose recovers 10% faster when you log out from your Estate. No soul sickness. The chance of getting a greater output when crafting is increased by 5%.
- Palace: 70 items inside, 70 outside. Maintenance fee: 20m kinah. Energy of Repose recovers 10% faster when you log out from your Palace. No soul sickness. The chance of getting a greater output when crafting is increased by 5%. Item drop rate increased by 5%.

Crafting
Crafting and gathering professions are learned and upgraded in the Temple of Artisans in Pandaemonium. There are two gathering skills you learn automatically: Essencetapping (called Collecting until you ascend to a Daeva) and Aethertapping (learned once you become a Daeva). The first one allows you to gather raw materials from ores, plants and logs, while the latter allows you to gather Aether from floating Vortexes. The Aether can be morphed to many different materials, consuming your Divine Power (DP). It’s also sold by a NPC in the Temple of Artisans, even if there’s a maximum daily amount you can buy. There are then 7 crafting professions: Alchemy (to make potions, scrolls and magic weapons), Armorsmithing (to make chain and plate armors), Construction (to make furniture), Cooking (obviously for food), Handicrafting (to make accessories and wooden weapons), Tailoring (to make cloth and leather armors) and Weaponsmithing (to make heavy weapons). To learn crafting recipes/designs, you can visit the local vendor in the Temple of Artisans; but there are other vendors throughout Atreia. All crafts have a chance to “proc” into a better quality item of the same type. To level up a profession, talk to the Master Crafter NPC of your profession and accept the available Work Orders (usually it’s better to accept the 2 highest work orders, in dark yellow). If a craftable item is dark yellow, it means you’ll gain more skill points in case you succeed the craft; however there is a higher chance of failure. On the opposite, white items don’t give any skill point, but they always succeed. When you completely fill the green bar (99, 199, …, 499) you must talk to your Master Crafter NPC and pay a fee, in order to unlock the following crafting level (this also applies for Essencetapping and Aethertapping). Beware that a single character can be Master Crafter in only one profession and Expert in two (Master counting as Expert, so the maximum you can be, is Master in one job and Expert in another one. Essencetapping and Aethertapping don’t count).

Organizations
In Asmodae there are also some organizations that reward you with some coin/token when you complete one of their daily quest. First of all, you should choose which organization you prefer and then, every day, you will see a light blue icon on the right of you skill bar: click on it to accept your daily quest. Currently, the available organizations are:
- Field Wardens: you can join them once you reach level 30. They assign you easy PvE quests and reward you with Ward Tokens, tokens that can be used to buy pack pet, for example (check in Beluslan or in the Gelkmaros’ fortress for more details).
- Charlirunerk’s Daemons: at level 50, a player can join the Charlirunerk’s Daemons (in Gelkmaros), an organization that rewards with Daemon Tokens, which can be exchanged for weapons, armor and unique items.
- Blood Crusade: members of the Blood Crusade will receive daily quests to attack the Elyos and will be awarded with Crusader Tokens as compensation (they can be exchanged for several items, like pets, wings and titles). Anyone level 40 or above can join by talking to the corresponding NPC in the Abyss or in Enshar.
In addition to these organizations, there were some other old organizations (like The Circle, Marchutan Priory, Shaper’s Crafters) that rewarded with tokens for being a Mentor (anyone who played with other players at least 10 levels lower than him/her) or for crafting some item, every day: these organizations have been removed, however their rewards can be still in part claimed using Daemon Tokens or Crusade Tokens (the NPC can be found in Enshar). It’s also possible to convert Ward Tokens to Daemon or Crusade Tokens (but not the vice versa).
These should be more than enough to let you start enjoying the game. For questions or further details, feel free to ask in legion or to write a post in the forum 😉
Bye!