
The game became much easier from its launch, and some changes in the UI (like the yellow/blue marks above the quest items/mobs) should have make the leveling more straightforward. However, Aion still lacks of a good tutorial and new players might feel lost and unsecure about what to do next, to level up without losing too much time.
For a tutorial about Aion, you can give a look at our Beginner Guide (more about tips and useful information) or at the Forthyn’s Guide (more about the game itself) on the Aion’s website.
The purpose of this page instead, is to provide some suggestion to make your grinding as short as possible.
First of all, it’s important to understand the difference between the several types of quests: yellow (lore-related or campaign, they give a lot of experience and useful items), dark blue (recommended quests, they give a good amount of experience and some useful item), light blue (side quests, useful only if you prefer to level up by questing rather than doing instances), pink (usually every 5 levels, a “winged NPC” (Erdat or Edandos) will give you free useful items, like weapons, gears or wings).
Something to keep in mind, is that while all the quests always reward you with the same amount of experience, killing mobs (thus, “doing instances”) will give more experience when the player’s level is low. Therefore, it’s advised to run an instance as soon as it’s unlocked (and the player feels able to complete it without many troubles), leaving the quests for the stalemates. Moreover, the light blue quests can be ignored, unless you prefer to level up in solo or you want to know more about the NPC’s lives or some additional information about some place/boss. To facilitate this approach, the basic quests are hidden by default: if you want to display them on your map, change the settings (as shown in our Beginner Guide).
Levels 1-10
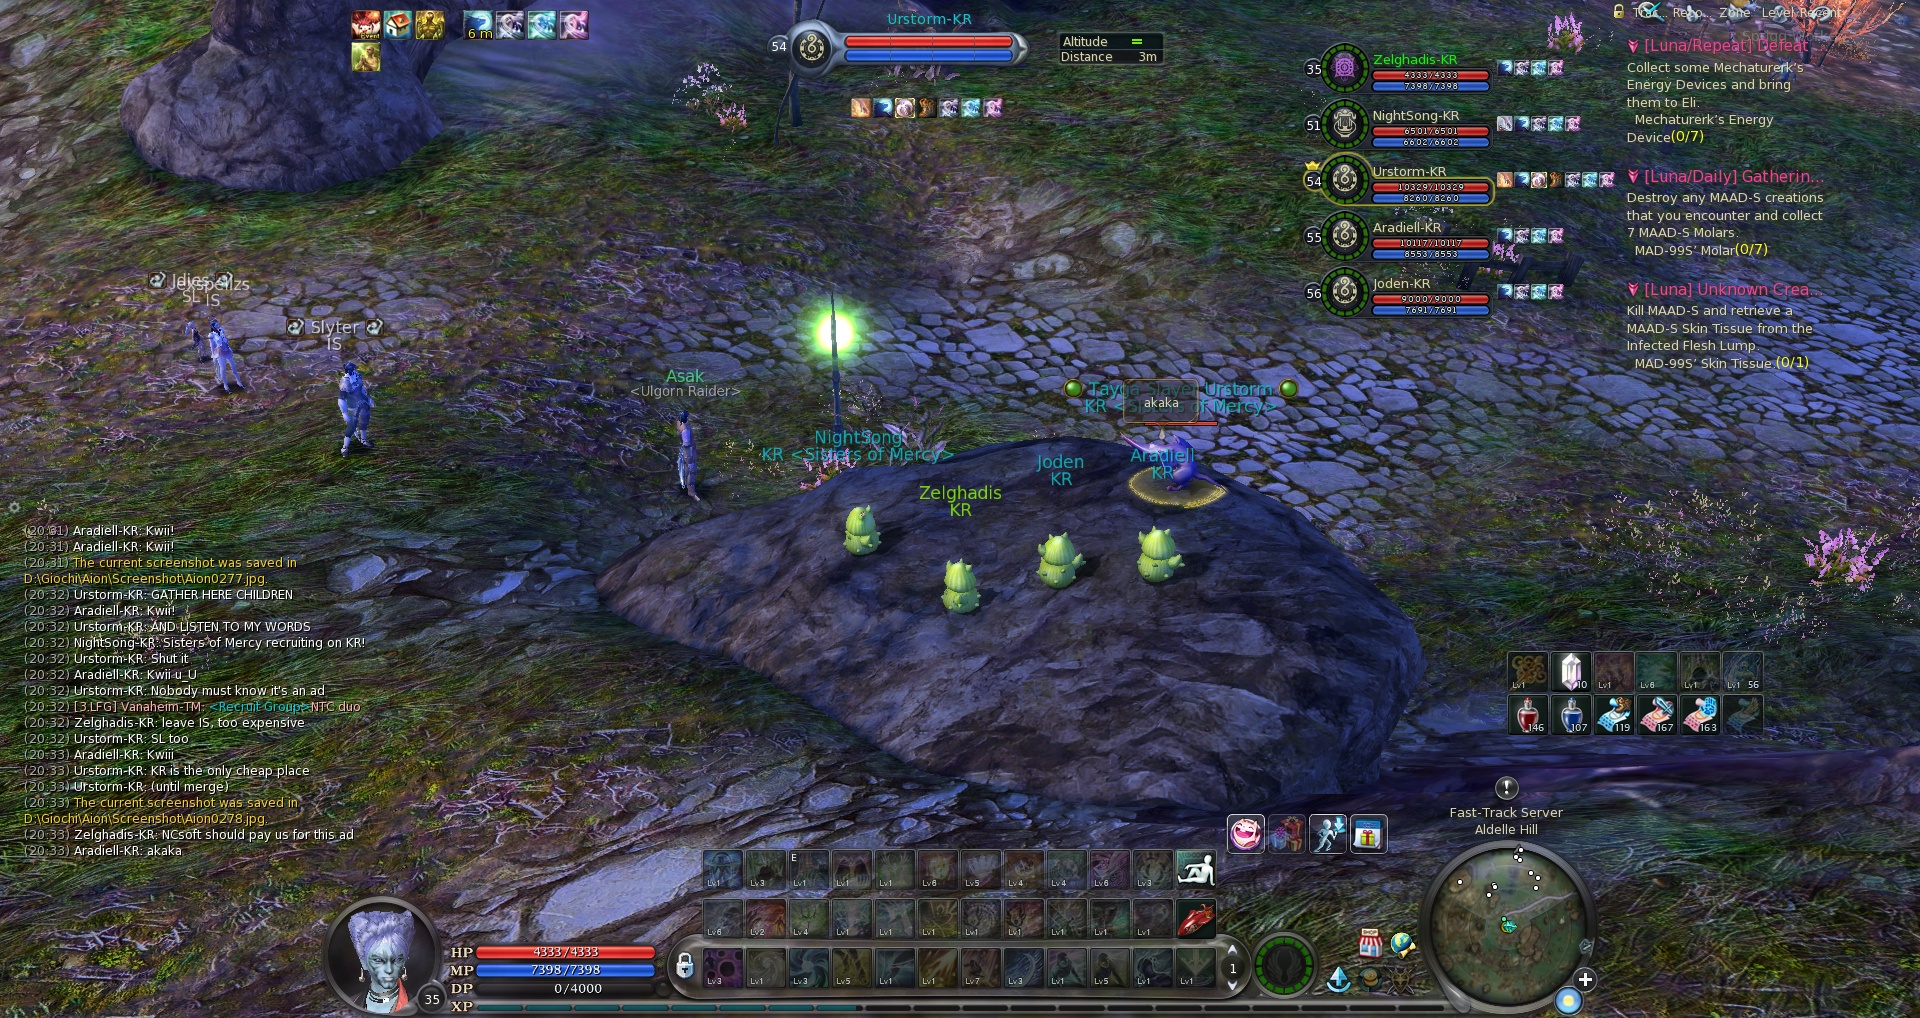
You’ll start the game as a human, and your “playground” will be Ishalgen. Although it’s already possible to start improving your “Collection” skill, keep in mind that you can also do it later on. Moreover, when you are +10 levels higher than the level of the mobs, you won’t be attacked, making your gathering much easier and fast. Thus, it’s suggested to spend your time to improve your (two) gathering skills, just before leaving the Fast Track Server (FTS), as on the Standard Server you might be killed by some Elyos, while you are gathering your plants…
To reach the Ascension, you can just focus on the dark blue and yellow quests. Something important to mention, is that you won’t level up to 10, until you ascended. Thus, it’s highly suggested to start your quest about the ascension as soon as you unlock it (at level 9), and then, eventually come back to Ishlagen and complete the campaign/dark blue quests you left.
The following video can give you an example about what to do in order to reach your Ascension (the video quality is quite poor, but I didn’t want to make a video of 1 GB).

Levels 11-20
If you left some campaign in Ishalgen, you can now go back to complete them, otherwise, accept the dark blue quests in Pandaemonium (you will waste some time, as they will ask you to go back and forth through the city, just to gain 1 level; nonetheless, it might be useful to let you know a bit about the most common NPCs and stores in the capital, as well as acquire some free pet and emote). Move then to Altgard, bind yourself to the obelisk, and start questing (always yellow and dark blue quests)! You may want to start exploring the map anticlockwise, since leaving the main village to the east will lead you towards the highest mobs of the map.
When you reach level 16, you can start the first instance of the game, which is also a solo dungeon: Haramel, located at the bottom of the map, near Heart of Impetusium. One single run is enough to let you gain 3 levels, and it’s quite easy and straightforward. You can repeat this instance 2 or 3 times, if you feel to do it.
Levels 21-30
Run Haramel until you are bored… (you have 18 entries per day, but usually 2 or 3 are enough; consider that you’ll receive a free pack pet after the second run, able to increase your inventory space by 6 slots) then complete some dark blue quests until you are level 25. At this level, you can start your first instance for groups: Nochsana Training Camp (NTC). Although this instance can be ran with a group of 6 players, the dungeon is quite easy, and many people choose to run it in 2 or 3 players: remember to use the Siege Weapon you have in your Special Cube, in front of the fortress’ gate, in order to complete one of the quests you have. NTC can be ran 5 times per day and it’s a good idea to do it at least 3 times: this should bring you to level 30.
Levels 31-40
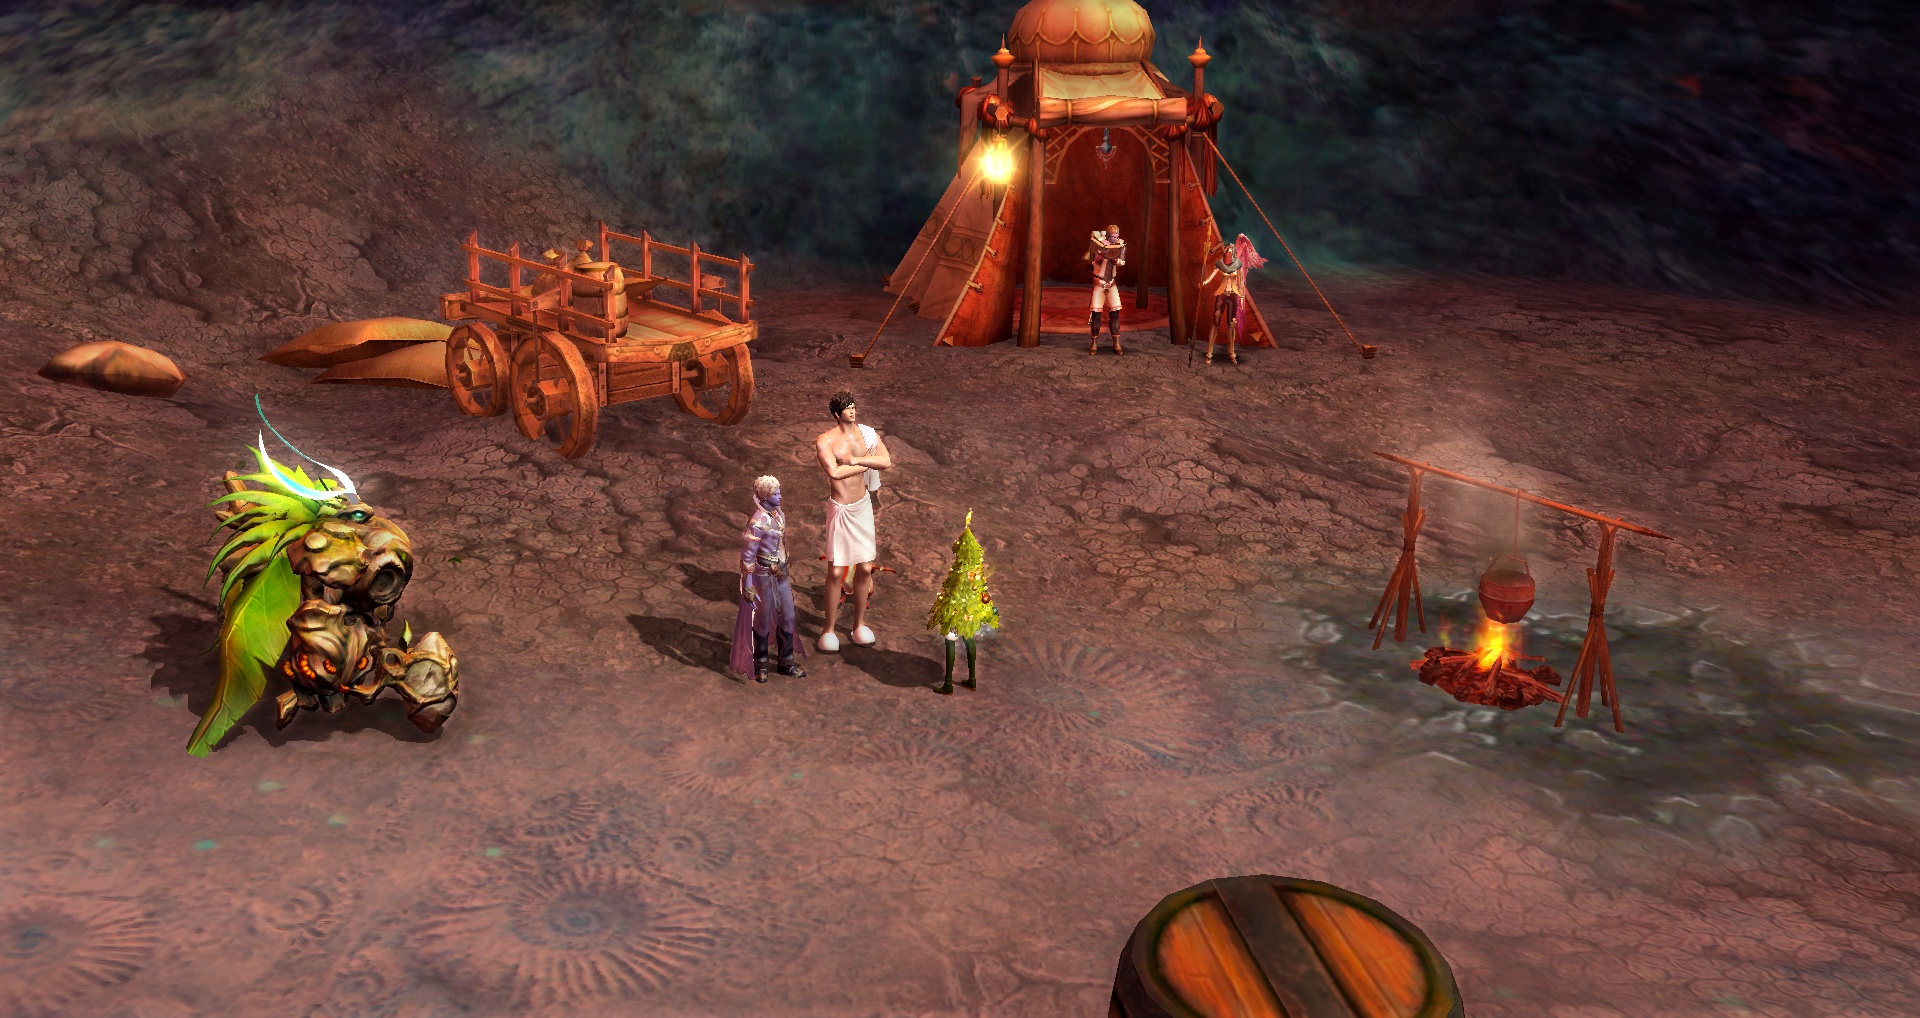
This is probably one of the most boring span (after the 61-65), as it’s almost entirely focused on spamming instances over and over. When you decide to stop running NTC, go to Slag Bulwark and start running Fire Temple. Be sure to have both the quests “[Group] Re-sanctifying the Temple” and “[Coin/Group] Courting Disaster”, since the instance is very short and you will gain experience almost only from these two quests. The fist can be repeated 15 times, so you can stop running Fire Temple after that. If you are not level 37 yet, complete some dark blue quest or some old campaign; I suggest you to leave the campaigns, like “The Three Keys” for when you are level 35, as you can wield a better weapon as loot from killing Kromede in Fire Temple (this campaign was once necessary in order to unlock the instance, but nowadays there’s no need to unlock it, so you can complete it at any time. Remember, the quests always give you the same experience, and the higher level you are, the faster you complete them, so better to delay them). When you reach level 37, you can start spamming another instance: “Kromede’s Trial”. This instance is located in Beluslan and is a solo dungeon, quite different from the usual ones. Be sure to talk to Nerita and accept the quest “Suspicious Errand”: this quest was once required to unlock the instance, but still, it’s a good thing to accept it beforehand (or at least, before your 5th run). Before entering the instance, accept the several dark blue quests from the NPCs around the tent, as they give a very good experience.
Levels 41-50
After completing Kromede’s Trial, you should be around level 42-43. At this point, you can recover all of your old campaigns and if it’s not enough, complete some dark blue quests (for example the ones given by Fafner, the (false) drakie in Beluslan, around the Bakarma Barracks). Your goal, is to reach level 45. At this point, go to Brusthonin and accept the dark blue quest “Glug, glug, glug”: this is the starting quest that will give you the first “good” gear, the “Renewed Daevanion”, the cheap version of the “Fenris” set. Acquiring this set is very easy (1 piece of gear every 10 mobs killed) and the chained quest will also provide you with a good amount of experience. Upon completing the last quest for this gear, you should be already level 46: at this point you can start the instances “Adma Stronghold” and “Theobomos Lab”. These two dungeons are quite easy and can be completed quite fast even with a small group of 3 people (remember to accept the relative quests, before entering). Once you completed the available dark blue quests for Adma and Theo Lab, you can move again to Beluslan and start “Dark Poeta”: this instance doesn’t reward with a particularly high experience, but it has some good dark blue quests and it’s a good opportunity to re-new all of your accessories (the Rank A is good enough if you want to level up faster).
Levels 51-60
Once you completed your dark blue quests for Adma/TL/DP or you are bored to run these instances, at level 53 you can start to farm Beshmundir Temple in Silentera Canyon (you can enter from one of the portals in Gelkmaros’ Fortress, until you are in the FTS). The “hard mode” may be challenging for a group and reward you with better gear but less experience. If your aim is to level up fast, the “normal mode” with one or two group members is your way. At level 56 you should talk to Richelle in Gelkmaros’ Fortress and start the quest “Trouble, Not Trivial” for the “Resurgent Daevanion”, the cheap version of the “Siel’s Forgotten” set. Like for the “Renewed Daevanion”, also this chained quest is very easy, and will reward you with a good gear that should bring you without many troubles to level 65. I suggest you to keep all the campaigns after level 50 for the next span, as after level 60 there won’t be many new ways to level up fast.
Level 61-65
This is probably the most boring and longest span (at least for a Daeva). The new instances that could be ran to level up are Raksang and Terath Dredgion, but you will be still stuck to Beshmundir Temple for a while, better if ran it in solo. Once you reach level 63, even Beshmundir Temple will provide you with a low experience. At this point, it’s a good idea to recover and complete all the campaigns you left behind from level 50: they should bring you to level 64. For the last level, you can complete all the dark blue quests in Enshar and running Terath Dredgion 3 times per day (be sure to accept all the quests before entering).
General overview about the Gear requirements and Enhancement
Starting from level 16, you can buy your gear with some “coin”. There are several kind of coins, rewarded for quests, eventually even repeatable ones. Usually you’ll receive some piece of these gears from the Event Staff (every 5 levels, from the pink quests) and you can buy the missing ones spending your coins. However the game became easy enough to make useless any additional cost, so unless you feel your character particularly weak, there shouldn’t be any need for completing some of this gear. But if you want it, or if you like the skin of such a gears, here are the common repeatable quests you can do, to gain some additional coin.
- Iron Coin (level 16): Altgard – [Coin] Mutated Spirits (lv18)
- Bronze Coin (level 21 and 26): Morheim – [Coin] Foes of the Fortress (lv21), [Coin] Nip Spriggs in the Bud (lv24), [Coin] Clearing the Way (lv27)
- Silver Coin (level 31 and 36): Morheim – [Coin] Protecting Tripeed (lv34), [Coin] Courting Disaster (lv34), [Coin] Thinning the Ranks (lv38); Beluslan – [Coin] Beluslan Pest Hunt (lv31), [Coin/Group] It’s Alive! Undead? (lv36), [Coin/Group] Trials By Fire (lv36), [Coin] Comabt Miners (lv37); Reshanta – [Coin] Putting the Past to Rest (lv30), [Coin] Eliminating the Flame Tribe (lv38)
- Gold Coin (level 41): Beluslan – [Coin] Confirmation in Dreams (lv41), [Coin] Ghosts of Anair Harbor (lv41), [Coin] Safecracking (lv41), [Coin/Group] In Shugo’s Clothing (lv44), [Coin/Group] Menacing Traitor (lv45]; Reshanta – [Coin] Bloodburn Klaw (lv39)
- Platinum Coin (level 46): Beluslan – [Coin/Group] Foolish Recklessness (lv48); Brusthonin – [Coin] Soul Purification (lv46), [Coin/Group] Preemptive Strike (lv47), [Coin] For the Future Settlers (lv48), [Coin] Mopping up the Brohum (lv49)
- Mithril Coin (level 51): Beluslan – [Coin/Group] Drana Gluttony (lv49); Brusthonin – [Coin/Group] Lord of Darkness (lv47); Gelkmaros – [Coin] Collecting Crystals (lv51), [Coin] Mysterious Seed (lv51), [Coin] Spawning the Sup Suckers (lv51), [Coin/Group] Beaks and Beakers (lv52), [Coin/Group] Poaching Parchments (lv53), [Coin] To Rebuild Nunglark Village (lv53), [Coin/Group] Chakra Chocking (lv54), [Coin/Group] Hunting Nightshades (lv55)
Socketing armor and weapons gives you a wide variety of attributes that will affect your character. These effects can be anything from extra health or mana, to how often you critically hit or how accurate you are. The “Renewed” and “Resurgent” set won’t allow you to socket manastones, so don’t worry too much about them, until you reach the level cap and you start to farm a better gear. You can replace any manastone at any time, by talking to a Manastone Remover NPC. Since Aion 4.8, a failure in socketing a manastone, won’t destroy anymore all of your manastones previously socketed in that piece of gear/weapon, so feel free to try/test different solutions for your gears.
Enchantment stones, unlike manastones, improve specific attributes on weapons and armor based on the type of item they are applied to (usually HP and Attack/Magic Boost). These attributes can be very relevant (although less important than a succeful socketing) but also very expensive. As such, I suggest you to spare your kinah for when you reach your level cap.
Godstones are the last type of enhancement that can be added to an item. However, these can only be socketed to weapons. Once applied to a weapon, the Godstone gives it the ability to affect an enemy in a variety of ways depending on the Godstone used. These effects are particularly important (sometimes decisive) in PvP, as a silence or paralyze effect for 6-8 seconds, could reverse the outcome of a fight. Godstones cannot be removed: if you want to socket a new stone, simply place the new godstone over the previous one.